Valley Junkyard Night Photography Post-Processing Comparison


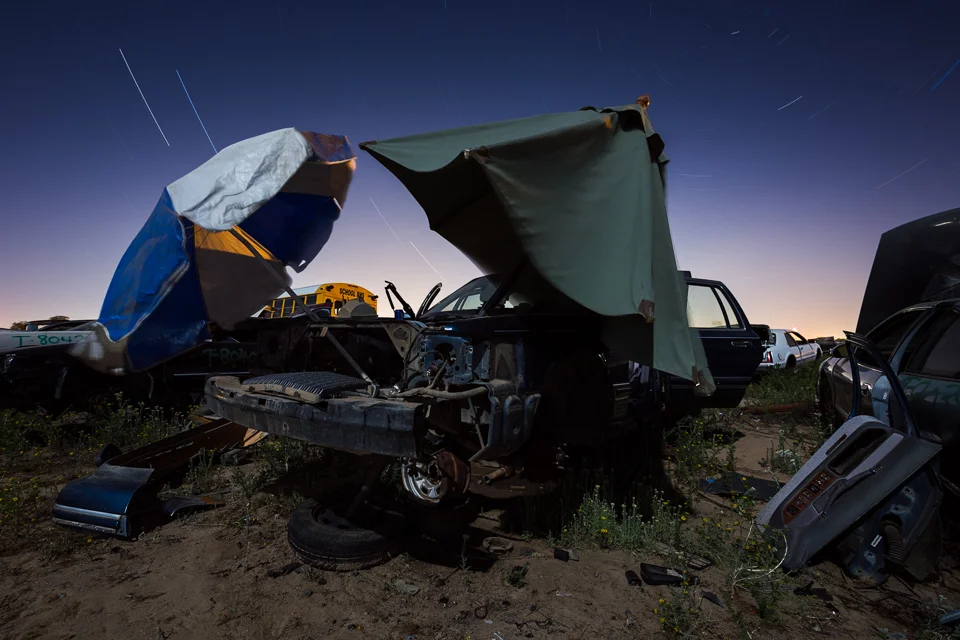
The four images above were shot during the Valley Junkyard Night Photography Workshop. I've been experimenting with luminosity masks in Photoshop to control tone and color in my night photography post-processing. Luminosity masks are simply saved selections that are based on specific tonal ranges.
While luminosity masks are easy enough to generate and play using Photoshop Actions, Tony Kuyper's TKActions Panel has a lot of time-saving features. Sean Bagshaw offers video tutorials on working with luminosity masks and the TKPanel. Jimmy McIntyre has a more basic set of luminosity mask actions for free, and also offers video tutorials.
The biggest takeaway from reviewing these tools for night photography post-processing has been the ability to lift the 3/4 tones without killing contrast. In the past, I've often used the Photoshop Blend If sliders on a Curves layer with hand-painted masks. Luminosity Masks are faster to generate, and offer more control when pulling up and enhancing shadow details.
Below are side-by-side comparisons of the RAW file after basic adjustments, and the finished Photoshop file after post-processing. The differences can be subtle, but the subtle differences are what can make a good picture even better.


